Table of Contents
ToggleA cramped kitchen doesn’t mean settling for chaos and clutter. U-shaped layouts pack serious workflow efficiency into tight footprints, wrapping counters and storage around three walls to create a work triangle that keeps everything within arm’s reach. Whether someone’s dealing with a galley conversion, a corner of an open-plan apartment, or a builder-grade box that needs serious optimization, smart design choices transform these compact zones into surprisingly functional cooking spaces. The key lies in balancing storage density, visual openness, and realistic appliance sizing, without requiring a permit or a full gut job.
Key Takeaways
- U-shaped kitchen designs maximize efficiency in small spaces by utilizing three walls to create a work triangle that keeps sink, range, and refrigerator within arm’s reach and minimizes wasted movement.
- Vertical storage solutions—including cabinets extending to the ceiling, full-extension drawers, and corner pull-outs—eliminate clutter and make the most of limited square footage without requiring a full renovation.
- Light colors, large-format tiles, and layered LED lighting (recessed cans, under-cabinet strips, and pendant fixtures) visually expand compact kitchens and improve functionality.
- Downsizing appliances to 24-inch ranges, counter-depth refrigerators, and 18-inch dishwashers frees up critical counter and floor space without sacrificing everyday cooking performance.
- DIY updates like cabinet painting, hardware swaps, peel-and-stick backsplashes, and under-cabinet LED lighting can transform a builder-grade small U-shaped kitchen for under $2,000 in a single weekend.
- Asymmetrical U-layout variations—such as short-leg U, galley-plus U, and corner-sink configurations—adapt to odd room shapes, doorways, and windows while maintaining work triangle efficiency.
Why U-Shaped Layouts Work Perfectly in Compact Kitchens
The U-shaped configuration delivers maximum counter and cabinet real estate in minimal square footage. By utilizing three contiguous walls, it creates a natural work triangle between sink, range, and refrigerator, ideally with each leg measuring 4 to 9 feet to minimize steps and wasted motion.
In kitchens measuring 8×8 feet or smaller, the U-shape keeps everything accessible without forcing constant back-and-forth trips across the room. The enclosed layout also naturally contains cooking mess, odors, and splatter within a defined zone, which matters in open-concept spaces where the kitchen flows into living areas.
This setup eliminates through-traffic, a common pain point in galley and L-shaped designs. No one’s cutting through the workspace to reach another room, reducing both congestion and safety hazards when handling hot pans or sharp knives.
One trade-off: corner cabinets. Standard blind corner base cabinets waste 30-50% of their interior volume unless fitted with pull-out shelves, lazy Susans, or magic-corner hardware. Budget an extra $150-$300 per corner for decent aftermarket inserts. Many small space-saving designs address these corner challenges with creative pull-out solutions.
Essential Design Principles for Small U-Shaped Kitchens
Effective small U-shaped kitchens balance three priorities: vertical storage density, visual openness, and realistic traffic clearance. Most building codes and design standards recommend 42 to 48 inches of clearance in the center workspace: go narrower than 36 inches and two people can’t pass comfortably. Go wider than 60 inches and the work triangle stretches, killing efficiency.
Countertop depth also matters. Standard base cabinets run 24 inches deep, but consider 18- or 21-inch depth cabinets on one leg if the room is especially tight. This reduces the footprint without sacrificing much usable counter area and can gain back critical floor space.
Smart Storage Solutions to Eliminate Clutter
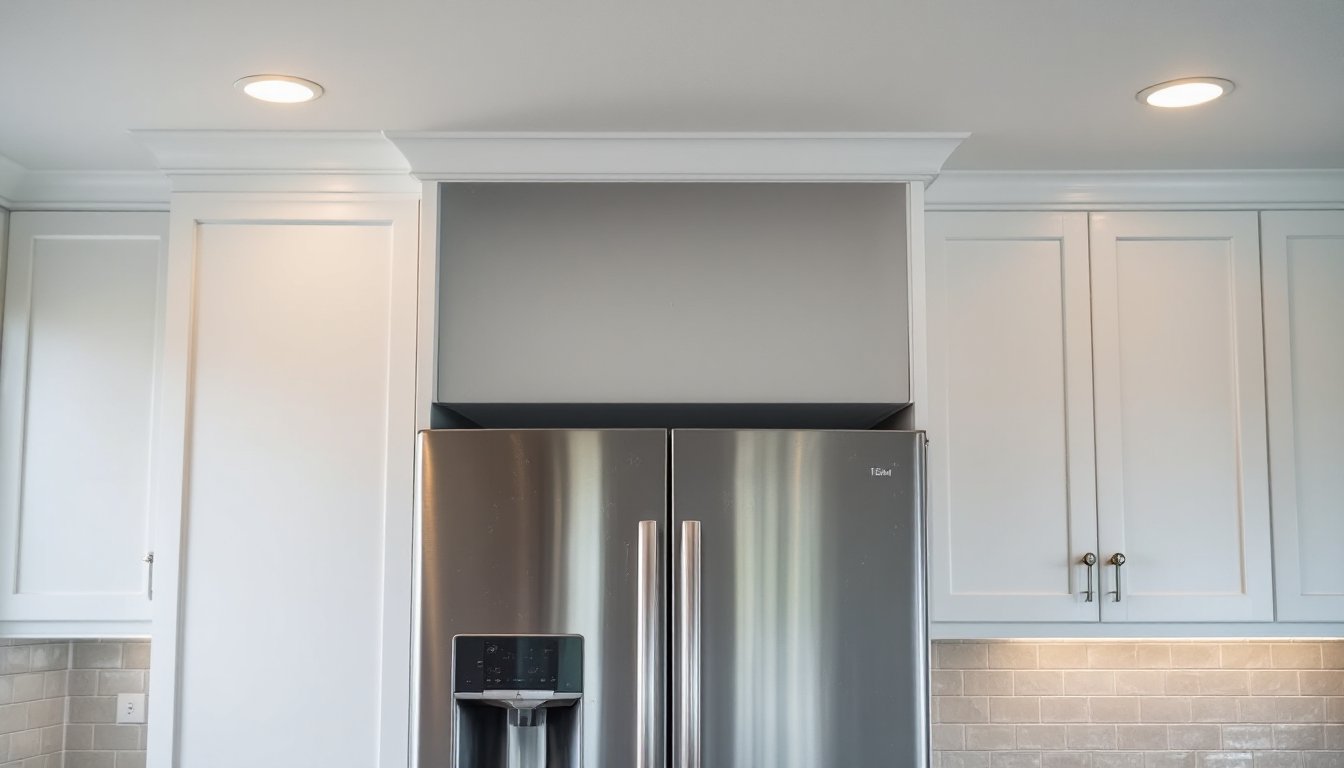
Vertical real estate is everything. Run upper cabinets to the ceiling (standard 8-foot ceiling height) rather than stopping at the typical 84-inch mark. That extra 12 inches adds storage for seasonal items, small appliances, or bulk pantry goods. Use a sturdy step stool for access.
Drawer-based base cabinets outperform door cabinets for pots, pans, and pantry items. Full-extension soft-close drawer slides (rated for 75-100 lbs) let someone see and reach everything without kneeling or digging. Swap at least two door cabinets for drawer stacks, most modular cabinet lines offer 3-drawer or 4-drawer base units in 18-, 24-, and 30-inch widths.
Corner solutions make or break a U-layout. Options include:
- Lazy Susan (round rotating shelves): works for dry goods, requires 33- or 36-inch cabinet box
- Blind corner pull-out: slides out to reveal hidden shelves: needs 36- to 42-inch cabinet
- Diagonal corner sink base: converts dead space into usable sink bowl area plus undersink storage
Don’t overlook toe-kick drawers. That 4-inch gap under base cabinets can house shallow trays for baking sheets, cutting boards, or foil and wrap. Retrofit kits run $40-$80 and install with basic screws.
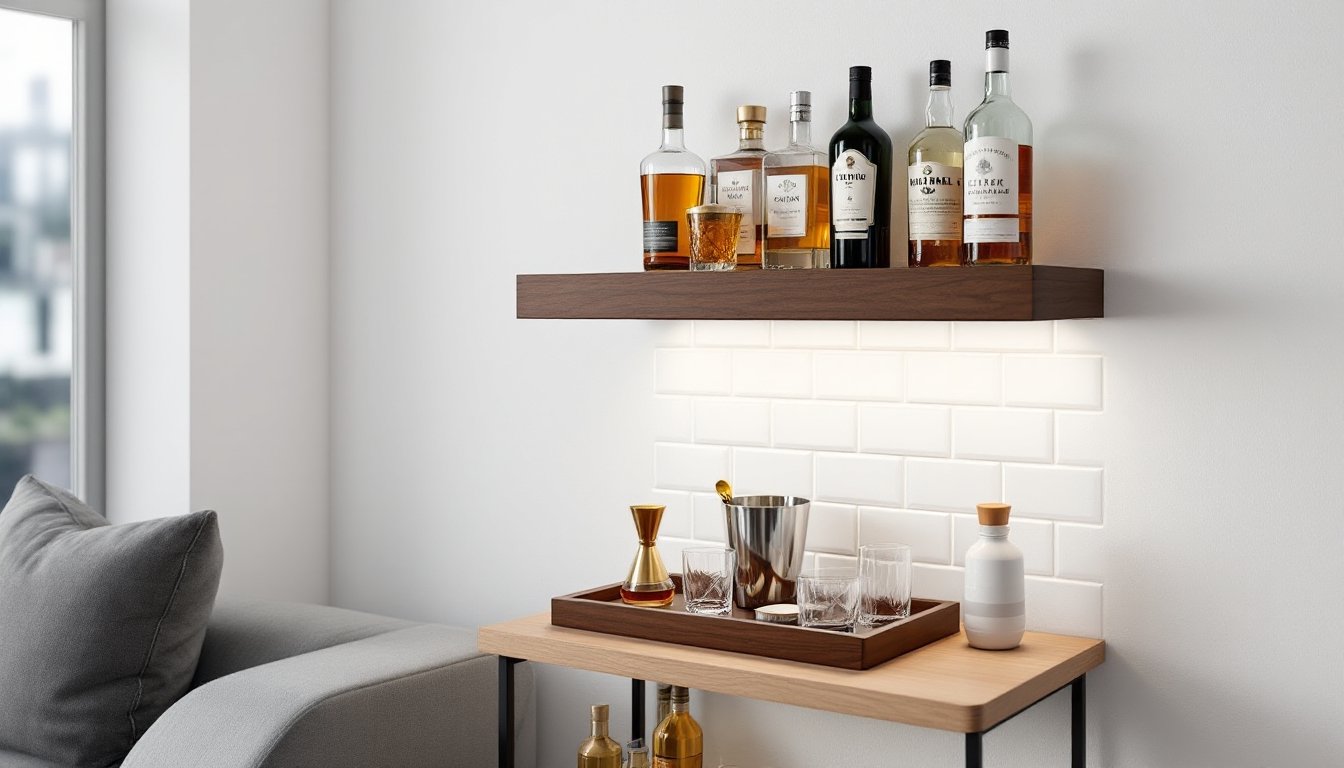
Open shelving on one short leg can replace upper cabinets, reducing visual weight and cost. Use ¾-inch plywood or solid wood shelves, 10 to 12 inches deep, with brackets rated for 50+ lbs per linear foot. Reserve this for everyday dishes and glassware, oils and spices collect dust on open shelves.
Color and Lighting Strategies That Open Up Tight Spaces
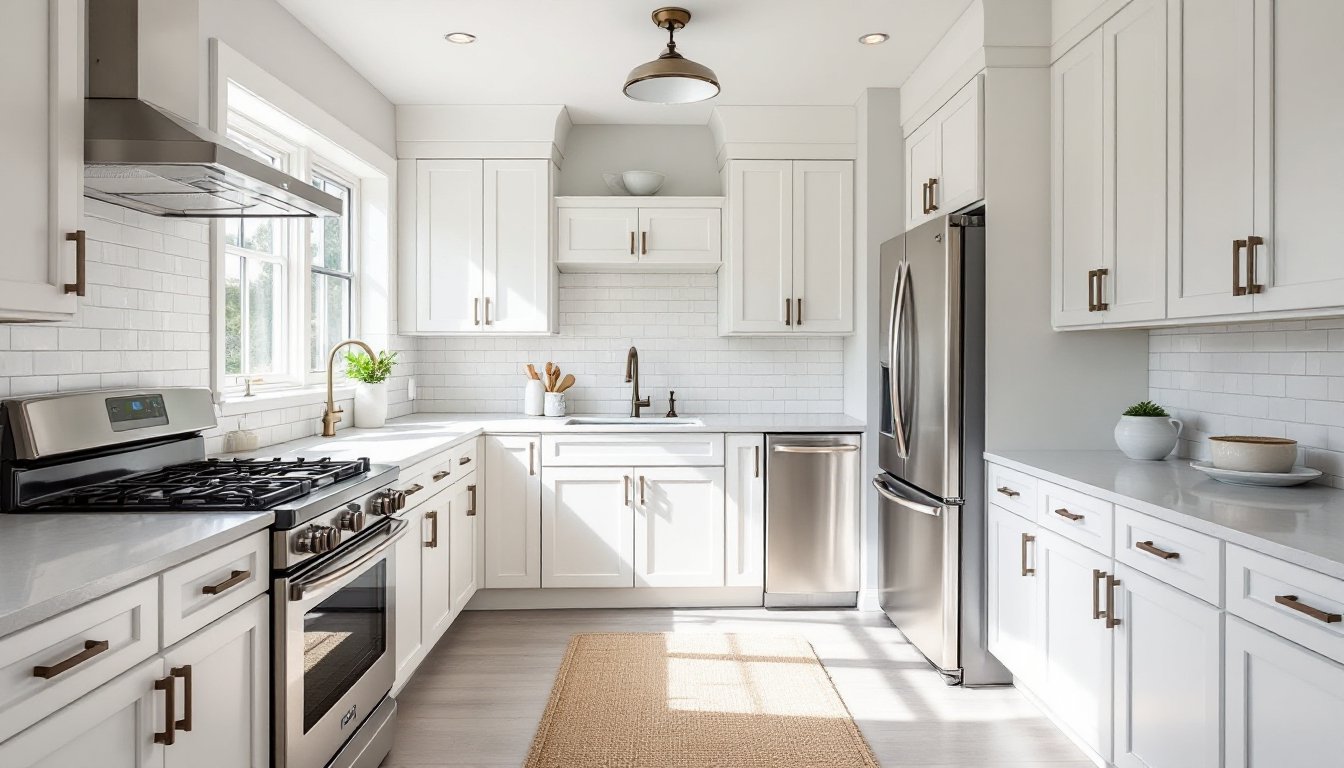
Light-colored cabinets and countertops reflect natural and artificial light, making the room feel larger. White, off-white, light gray, and pale wood tones are standard for a reason. High-gloss or semi-gloss cabinet finishes amplify the effect but show fingerprints, balance aesthetics with maintenance tolerance.
Skip dark or heavily grained granite and quartz. White quartz, light marble-look quartz, or pale butcher block keeps sight lines open. Quartz runs $50-$80 per square foot installed for mid-grade slabs: butcher block costs $40-$60 but requires periodic oiling and isn’t heat-proof.
For backsplashes, large-format tiles (12×24 inch or bigger) minimize grout lines and visual clutter. Subway tile works but creates a grid that can feel busy in a small zone. A slab backsplash in the same material as the counter creates a seamless look and eliminates grout cleaning.
Layered lighting is non-negotiable. A single overhead fixture leaves counters in shadow. Install:
- Recessed LED cans (4-inch or 6-inch) on a 4-foot grid for ambient light
- Under-cabinet LED strip lighting for task illumination (plug-in kits start at $30: hardwired versions require basic electrical skills or an electrician)
- Pendant or flush-mount fixture over the sink if there’s no window
Aim for 50-75 lumens per square foot in a kitchen. A 64-square-foot U-kitchen needs roughly 3,200-4,800 lumens total. Choose LED bulbs rated 2700K to 3000K (warm white) to avoid the clinical feel of daylight-spectrum bulbs.
If there’s a window on one leg, skip upper cabinets on that wall. Natural light is the best space-expander, and sightlines to the outdoors break up the boxed-in feeling.
Space-Saving Appliance and Fixture Choices
Standard 30-inch ranges and 36-inch refrigerators devour limited runs. Downsizing appliances without sacrificing function requires some trade-offs but opens up counter and storage.
24-inch ranges (also called apartment-size ranges) fit a 4-burner cooktop and a 3.0-cubic-foot oven. Brands like Summit, Avanti, and Unique offer models around $600-$1,200. They’re not ideal for someone who roasts full-size turkeys, but they handle everyday cooking and baking just fine. A space-saving microwave mounted under cabinets or built into a wall frees up counter real estate entirely.
Counter-depth refrigerators (24-inch depth vs. standard 30-36 inches) align with base cabinet fronts, creating a built-in look and saving floor space. Expect 20-22 cubic feet of capacity in a 36-inch-wide model (vs. 25-28 in a standard-depth unit). They cost $1,500-$3,000, but the visual and spatial gains often justify the premium.
18-inch dishwashers handle 6-8 place settings and fit where a standard 24-inch model won’t. Bosch, Miele, and SPT make reliable compact units. Alternatively, skip the dishwasher and gain a base cabinet, two people can manage hand-washing if they stay on top of it.
Choose an undermount sink over a drop-in. Undermounts let someone sweep crumbs and water directly into the bowl without hitting a raised rim, and they visually enlarge the counter. A 27-inch or 30-inch single-bowl sink in stainless or composite granite maximizes usable basin space. Double-bowl sinks divide the area and limit what fits inside.
For faucets, pull-down sprayers offer more flexibility than fixed spouts, especially if the sink sits in a corner. Models with magnetic docking keep the spray head secure and look cleaner. According to The Kitchn, single-handle faucets simplify temperature control in tight quarters where elbow room is limited.
Layout Variations and Configurations for Tight Footprints
Not every U-shaped kitchen has three equal legs. Asymmetrical configurations adapt to odd room shapes, doorways, and windows.
Short-leg U: One leg runs only 2-3 feet, just enough for a narrow pantry cabinet or a built-in microwave and coffee station. This works when a doorway interrupts one wall. The two longer legs (6-8 feet each) handle the sink, range, and main prep counter.
Galley-plus U: Essentially a galley with a short return wall. The return leg (3-4 feet) often holds the refrigerator and a narrow pantry or broom closet. This layout fits 7×10-foot or 8×11-foot rooms and preserves an open end for flow into adjacent spaces.
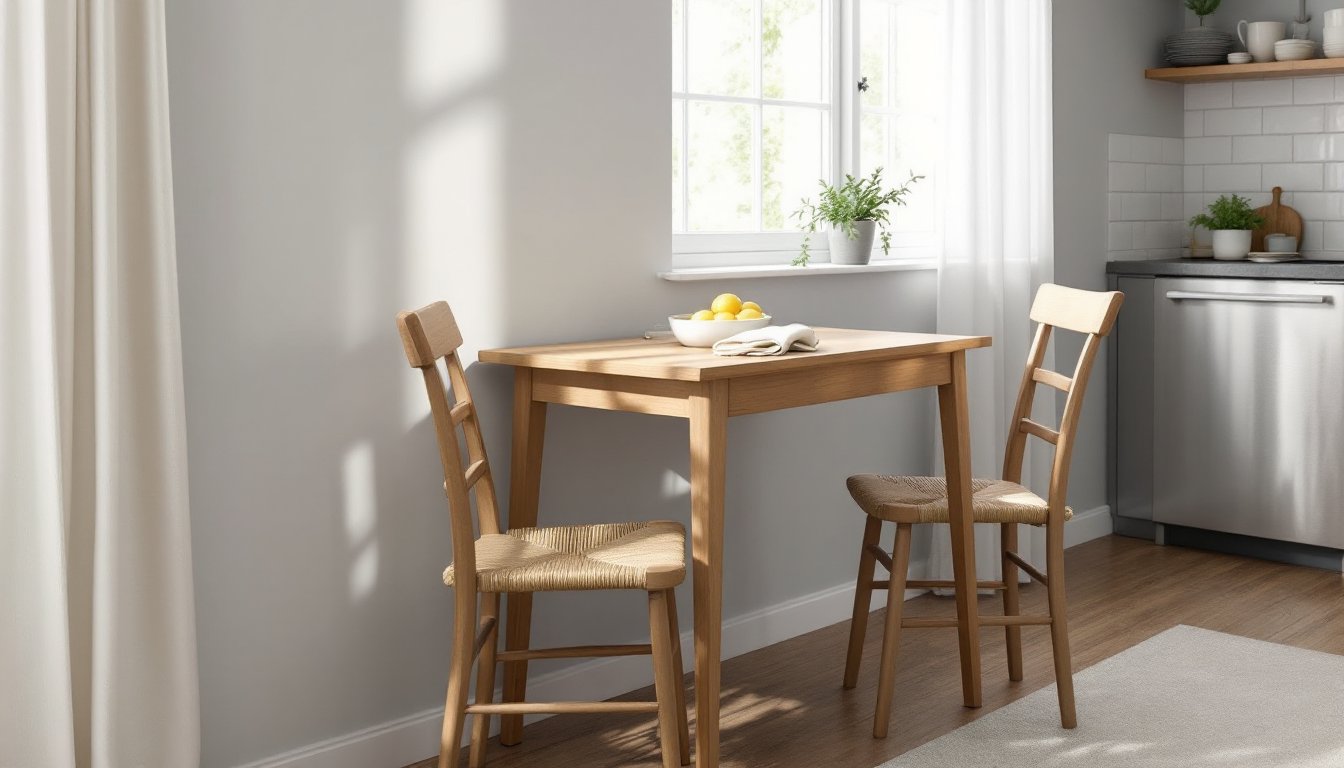
Peninsula U: Replaces one wall with a half-height peninsula or breakfast bar. This semi-open configuration defines the kitchen zone without fully enclosing it. The peninsula (typically 24-30 inches deep, 36-42 inches high for bar seating) can house storage, a dishwasher, or a microwave drawer. It also provides casual seating for two on the opposite side, useful in apartments where a separate dining table won’t fit. Space-saving table options can complement this setup in adjacent dining zones.
Corner-sink U: Positions the sink diagonally in one corner, freeing up straight counter runs for appliances and prep. This requires a diagonal corner sink base cabinet (usually 36 or 42 inches nominal) and custom or semi-custom countertops. It’s more expensive (add $400-$800 for fabrication) but can unlock an extra 2-3 feet of usable counter along two walls.
In every variation, maintain the work triangle logic: sink, cooktop, and refrigerator should form a triangle with sides totaling 13-26 feet. Much shorter and the kitchen feels cramped: much longer and efficiency drops. Designers at Remodelista often highlight how work triangle proportions dictate successful compact layouts.
Budget-Friendly DIY Updates to Transform Your Small U-Shaped Kitchen
Full cabinet replacement costs $8,000-$20,000+ in a small kitchen. DIYers can achieve dramatic results for a fraction by refacing, repainting, and upgrading hardware and lighting.
Cabinet painting transforms dated oak or laminate for $200-$500 in materials (primer, paint, brushes, rollers, sandpaper). Use a bonding primer like Zinsser B-I-N or Benjamin Moore Fresh Start, then two coats of semi-gloss or satin acrylic enamel. Lightly sand between coats with 220-grit paper. Remove doors and paint them flat on sawhorses for the smoothest finish. Expect 2-3 full days for an 8×8 kitchen.
Hardware swaps cost $3-$8 per pull or knob. Replacing 20 pieces runs $60-$160. Measure existing hole spacing (3-inch, 3.75-inch, and 5-inch are common for pulls) to avoid drilling new holes. Brushed nickel, matte black, or brass finishes instantly modernize a space.
Peel-and-stick backsplash tiles (3D gel, subway, or mosaic styles) install without mortar or grout. Quality products like Smart Tiles or Tic Tac Tiles cost $8-$15 per square foot. A typical 15-square-foot backsplash runs $120-$225 and takes an afternoon with a utility knife and level. They’re removable, making them renter-friendly, but won’t withstand heavy scrubbing or high heat directly behind a range.
Vinyl plank flooring mimics wood or tile for $1.50-$4 per square foot. Luxury vinyl plank (LVP) with a wear layer of 12 mil or thicker handles kitchen traffic. It installs as a floating floor over existing vinyl, tile, or wood (if level and clean). A 64-square-foot kitchen needs about 70 square feet of material (including waste) and installs in a day with a utility knife, tapping block, and pull bar. No special tools required.
Under-cabinet LED lighting transforms usability. Plug-in kits with adhesive-backed LED strips cost $25-$60 for a 6- to 12-foot run. For a cleaner look, hardwired puck lights or linear bars run $80-$200 and require basic wire splicing (connect hot to hot, neutral to neutral, ground to ground inside a junction box). If unsure about electrical work, hire a licensed electrician, most will install under-cabinet lighting for $150-$300 including materials.
Open shelving replaces upper cabinets for $50-$150 per wall. Use ¾-inch birch plywood or solid wood boards, cut to length at a home center. Heavy-duty steel brackets (rated 50+ lbs each) cost $10-$20 per pair. Screw into studs with 3-inch wood screws or use toggle anchors in drywall. Finish with stain or paint to match the aesthetic. Many compact space solutions rely on open shelving to maintain visual flow.
Countertop refinishing kits (like Rust-Oleum Countertop Transformations or Giani Granite) cost $70-$150 and claim to resurface laminate or tile counters with a stone-look finish. Results vary widely, surface prep is critical (thorough cleaning, deglossing, and patching chips), and the finish isn’t as durable as real stone. Expect 2-4 years before wear shows in high-use areas. It’s a stopgap, not a permanent fix, but it buys time and costs less than replacement.
Safety notes: Wear nitrile gloves, safety glasses, and a respirator (N95 or better) when sanding, painting, or using chemical strippers. Ventilate the space with fans and open windows. Turn off power at the breaker before any electrical work.
For more detailed visual examples and layout ideas, HGTV’s small U-shaped kitchen gallery provides real-world photo references across various styles and budgets.
Small U-shaped kitchens reward careful planning and honest assessment of daily workflow. Measure twice, prioritize vertical storage, and don’t shy away from downsized appliances, they’re not compromises, just smarter fits. With the right materials and a weekend’s effort, even a builder-grade box becomes a high-functioning cooking zone that punches well above its square footage.