Table of Contents
ToggleLiving in a compact home doesn’t mean giving up on sit-down meals or a proper workspace. A well-chosen small space kitchen table solves the dining dilemma without crowding the room or blocking traffic flow. Whether it’s a 200-square-foot studio or a galley kitchen with barely enough room to open the fridge, the right table can anchor the space and add real function. This guide covers everything from drop-leaf classics to wall-mounted solutions, plus the measurements, materials, and placement strategies that make a tight kitchen work harder.
Key Takeaways
- A small space kitchen table serves multiple functions—dining, workspace, and gathering point—making it essential for compact homes where furniture must earn its square footage.
- Drop-leaf, wall-mounted, and floating tables are ideal solutions for small kitchens, with wall-mounted options leaving zero floor footprint when folded flat.
- Maintain at least 36 inches of clearance around the table for comfortable seating, and choose rectangular or square shapes that align with walls to maximize walkways in galley kitchens.
- Position your small space kitchen table against a wall or under a window, but avoid blocking the fridge, dishwasher, or primary traffic paths between cooking zones.
- Solid wood offers durability and lasting appeal, while laminate and engineered wood provide budget-friendly alternatives that resist damage from daily kitchen use.
- For renters and DIY enthusiasts, wall-mounted solutions using proper stud anchors or budget materials like plywood and piano hinges offer customizable, affordable options under $100.
Why Small Space Kitchen Tables Are Essential for Compact Living
A kitchen table in a small space is more than a place to eat, it’s command central. It serves as a prep surface, a laptop desk, a kid’s assignments zone, and the only spot where guests can actually sit during a dinner party.
Multifunctional use is the primary advantage. In apartments and tiny homes, every piece of furniture needs to earn its square footage. A compact table can double as a workstation during the day and a dining spot at night, eliminating the need for a separate desk or breakfast nook.
Visual flow matters. An oversized table cramps sightlines and makes a small kitchen feel even smaller. The right-sized piece opens up pathways, preserves clearance around appliances, and keeps the room from feeling like an obstacle course.
Social connection improves when there’s a dedicated place to sit. Standing at the counter works for quick meals, but a table creates an actual gathering point. It signals that the kitchen is a living space, not just a utility zone.
Permit requirements don’t typically apply to furniture placement, but if adding built-in seating or permanent fixtures, check local codes, especially in rental units where modifications may require landlord approval.
Top Small Space Kitchen Table Styles to Consider
Drop-Leaf and Folding Tables
Drop-leaf tables feature hinged leaves that fold down when not in use, shrinking the footprint to as little as 10 inches deep. When extended, they provide full dining surface, typically 36 to 48 inches wide, enough for four people. The classic gateleg design uses swing-out supports: newer models often use hidden brackets or locking hinges.
These work best in kitchens with at least 30 inches of clearance on the side where the leaf extends. Position them against a wall during the week, then pull them out for weekend meals. Modern space-saving folding dining setups often include matching chairs that nest or stack flat.
Folding tables collapse completely for storage in a closet or against a wall. Look for models with locking leg mechanisms, cheap hardware fails fast under daily use. Solid wood or metal frames outlast particleboard: expect to pay more, but they’ll handle years of setup and teardown.
A word of caution: folding tables with thin tops (under 3/4 inch) tend to wobble. If using one as a permanent solution, add rubber bumpers to the feet or anchor it with corner brackets when deployed.
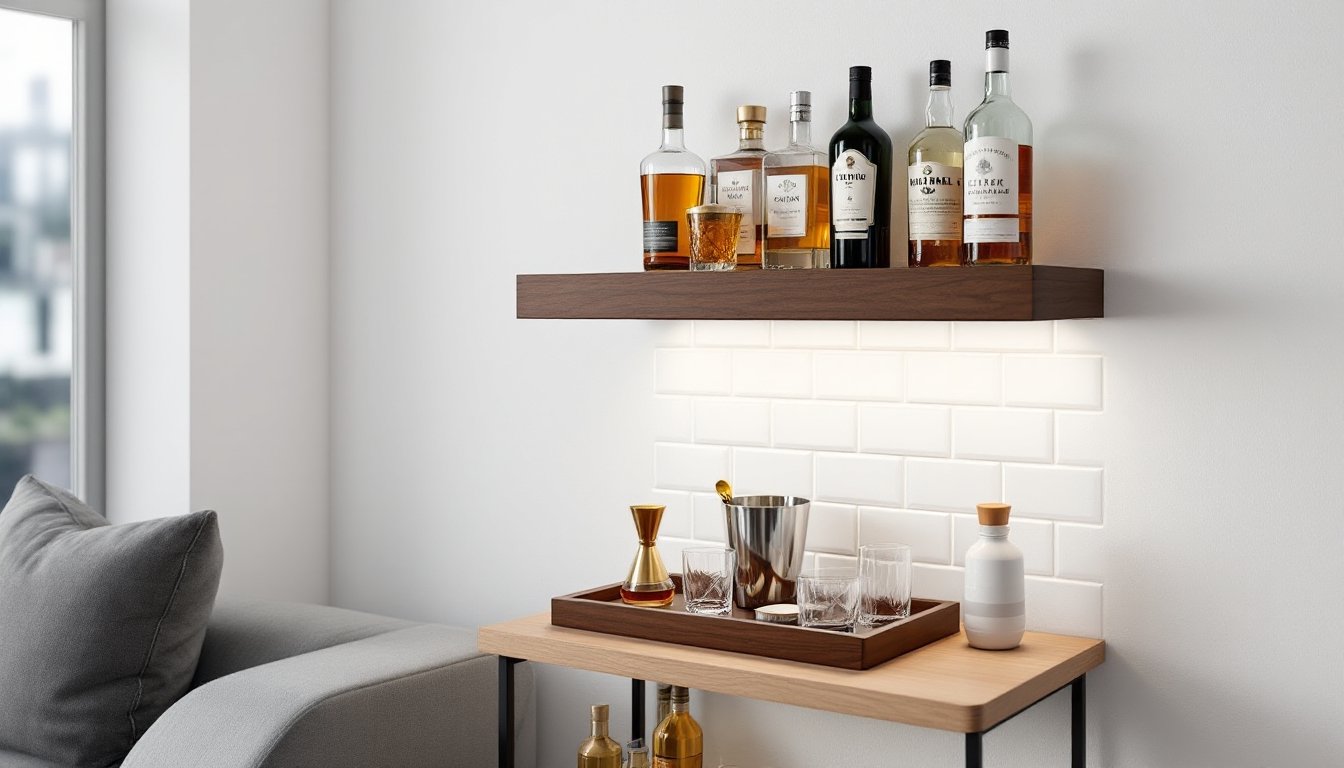
Wall-Mounted and Floating Tables
Wall-mounted tables attach directly to studs and fold flat when not needed, leaving zero floor footprint. Installation requires locating two studs 16 or 24 inches on center (standard residential framing) and using lag screws rated for the table’s weight capacity plus expected load, usually 150 to 200 pounds total.
These are ideal for galley kitchens or breakfast nooks where floor space is at a premium. A 24-inch-deep wall-mounted table provides enough surface for two place settings and still folds to under 3 inches thick. Some designs include built-in storage cubbies or wine racks on the underside.
Floating tables (also called peninsula or bar-height tables) extend from a wall or kitchen island without visible floor supports. They create an eat-in counter feel and often pair with backless stools that tuck completely underneath. Typical dimensions run 12 to 18 inches deep by 36 to 48 inches wide.
Installation note: Drywall anchors won’t cut it for wall-mounted or floating tables. You must fasten into solid framing. If studs aren’t where you need them, consider adding blocking between studs (requires opening the wall) or using a French cleat system mounted across multiple studs for load distribution. Many tiny apartment ideas incorporate wall-mounted solutions to reclaim floor space.
How to Choose the Right Size and Shape for Your Space
Start with clearances. You need at least 36 inches between the table edge and any wall, appliance, or cabinet to pull out a chair and sit comfortably. In a tight kitchen, that drops to a minimum of 30 inches, but expect bruised knuckles and tight squeezes.
Measure the available floor area, then subtract clearance zones. What’s left is your maximum table footprint. A 24-inch by 36-inch table fits two people: bump up to 30 by 48 inches for four, assuming bench seating on one side.
Shape impacts flow. Round tables eliminate sharp corners and improve traffic flow in compact spaces, but they’re less efficient against walls. A 36-inch diameter round seats four: a 30-inch round handles two comfortably. Square tables (30 by 30 inches or 36 by 36 inches) tuck neatly into corners and work well in square-ish rooms.
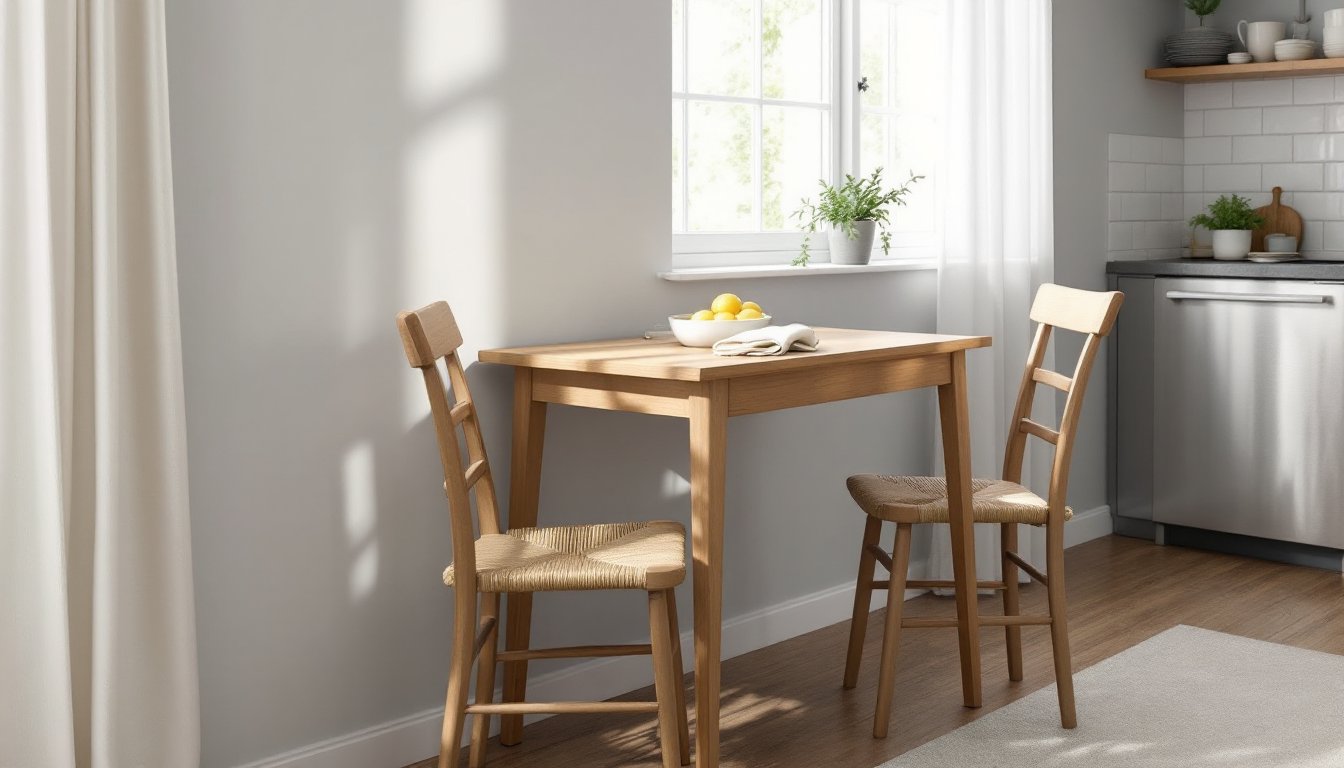
Rectangular tables are the most versatile for small kitchens because one long side can sit flush against a wall. Typical small-space dimensions: 24 by 36 inches, 24 by 48 inches, or 30 by 48 inches. Narrow profiles (24 inches deep or less) preserve walkways in galley layouts.
Oval tables combine the corner-free benefits of round tables with better wall alignment, but they’re harder to find in truly compact sizes.
For households that occasionally host guests, a space-saving dining table set with expandable options offers flexibility. Extendable models with butterfly leaves or pull-out inserts let you go from everyday two-seater to occasional four-top.
Height matters too. Standard dining height is 28 to 30 inches, which pairs with chairs 16 to 18 inches off the floor. Counter height (34 to 36 inches) and bar height (40 to 42 inches) tables take up less visual space and often allow stools to slide completely underneath, but they’re less comfortable for extended meals or laptop work.
Smart Placement Tips to Maximize Your Kitchen Layout
Against the wall is the default for small kitchens, but don’t automatically push the table into a corner. Centering it on a wall with chairs on three sides often provides better access and more flexible seating.
Under a window takes advantage of natural light and makes the table feel less cramped. Just verify that the window trim doesn’t interfere with chair backs when pushed in, a common issue with deep sills or protruding aprons.
In front of a peninsula or island works if you have at least 42 inches between the island edge and the table. This creates a galley-style traffic lane and turns the table into a secondary work surface during food prep.
Diagonal placement in a corner can open up sightlines and create a cozy breakfast nook vibe, but it wastes floor space. Only consider this if the room is awkwardly shaped and traditional placement blocks doorways or appliance access.
Many integrated furniture systems build the table directly into cabinetry or combine it with storage benches. Resources like Apartment Therapy showcase real-world placement examples in tight urban kitchens.
Avoid these common mistakes:
- Placing the table directly in front of the fridge, dishwasher, or oven. You’ll regret it the first time you need to unload groceries or pull a hot pan.
- Blocking the primary traffic path between the kitchen entrance and cooking zone. Map out your most common routes before committing to placement.
- Ignoring overhead clearance. Pendant lights, pot racks, and ceiling fans need at least 30 inches of space above the table surface.
Lighting placement should follow the table, not the other way around. If you’re renting and can’t relocate a ceiling fixture, consider a plug-in pendant with a swag hook or a floor lamp with an arc arm.
Material and Design Considerations for Durability and Aesthetics
Solid wood (oak, maple, walnut) is the most durable option and improves with age, but it’s heavy and the most expensive. Expect to pay $300 to $800 for a quality small-scale solid wood table, depending on region and wood species. Lighter woods like pine or poplar cost less but dent more easily.
Engineered wood (plywood, MDF with veneer) keeps costs down, typically $150 to $400, and resists warping better than solid wood in humid kitchens. The catch: edges chip easily, and water damage is permanent. Look for sealed edges and avoid placing hot pots directly on the surface.
Laminate and butcher block both handle daily abuse. Laminate is nearly indestructible and wipes clean in seconds, making it ideal for families with kids. Butcher block requires periodic oiling but doubles as a cutting surface (though doing so will leave marks). Both run $200 to $500 for small tables.
Metal and glass tables have a modern look and small visual footprint, clear glass especially disappears in tight spaces. Tempered glass is a must for safety: standard glass can shatter under impact. Metal bases (steel or aluminum) are sturdy but cold to the touch. Clean glass daily if you hate fingerprints.
For more options that blend functionality with compact design, browse space saving tables covering various material combinations. Experts at The Kitchn regularly review table materials for real-world kitchen durability.
Finish type affects maintenance. Polyurethane or lacquer finishes resist water and stains but can’t be spot-repaired, you’ll need to refinish the entire surface if damaged. Oil finishes (tung oil, Danish oil) require reapplication every 6 to 12 months but allow for easy touch-ups.
Base design impacts legroom and stability. Pedestal bases maximize knee space and let you squeeze in an extra chair, but they’re less stable than four-leg designs, especially on uneven floors. Trestle bases offer good stability and a traditional look but reduce seating flexibility at the ends.
Safety for renters: If you’re considering a DIY wall-mounted hack, IKEA hackers provide creative solutions, but always verify your lease allows wall mounting and plan for patching holes when you move out. Use appropriate toggle bolts or molly bolts if studs aren’t accessible, and confirm weight ratings.
Edge profiles matter in tight spaces. Rounded or beveled edges reduce bruises and snags: sharp 90-degree edges hurt when you bump them. If kids are present, rounded corners are non-negotiable.
For budget-conscious DIYers, building a simple wall-mounted table from 3/4-inch plywood and a piano hinge runs $50 to $100 in materials. Cut the plywood to size (most home centers offer free cuts), seal all edges with edge banding or paint, and mount using lag screws into studs. Add a fold-down leg or chain support rated for the expected load. This approach gives maximum customization for odd-sized spaces and costs a fraction of retail options.