Table of Contents
ToggleA cramped kitchen doesn’t mean compromising on function or style. With the right strategies, even a galley kitchen measuring 6 feet wide can deliver the storage and workspace a homeowner needs. The difference between a cluttered mess and a streamlined cooking space often comes down to smart planning, not square footage. This guide breaks down practical, proven techniques to stretch every inch, from wall-mounted racks and fold-down tables to color tricks that visually expand tight quarters. Whether working with a rental apartment or a vintage home with a 10×10 kitchen footprint, these ideas deliver real results without requiring a full gut renovation.
Key Takeaways
- Small space kitchen ideas succeed through vertical storage and wall-mounted organization, turning unused wall space into functional storage that doubles your kitchen capacity.
- Floating shelves, pull-out pantry cabinets, and pegboards maximize compact kitchens by utilizing the 8+ feet of vertical wall space typically left vacant above base cabinets.
- Light colors, glossy finishes, glass-front cabinets, and layered LED lighting create the illusion of a larger kitchen without requiring renovation or extra square footage.
- Compact appliances like 24-inch refrigerators, 18-inch dishwashers, and space-saving induction cooktops eliminate bulk while maintaining essential functionality in tight layouts.
- DIY projects such as pegboard backsplashes, custom spice racks, and cabinet repaints deliver outsized impact for $15–$200 and can be completed in a weekend.
- Strategic layout planning—maintaining a 12- to 22-foot work triangle and 42- to 48-inch galley aisles—ensures efficient workflow even in the smallest kitchen spaces.
Smart Storage Solutions That Double Your Kitchen Space
The biggest mistake in compact kitchens is leaving vertical space unused. Most base cabinets max out at 36 inches high, but walls extend to 8 feet or more, that’s wasted real estate.
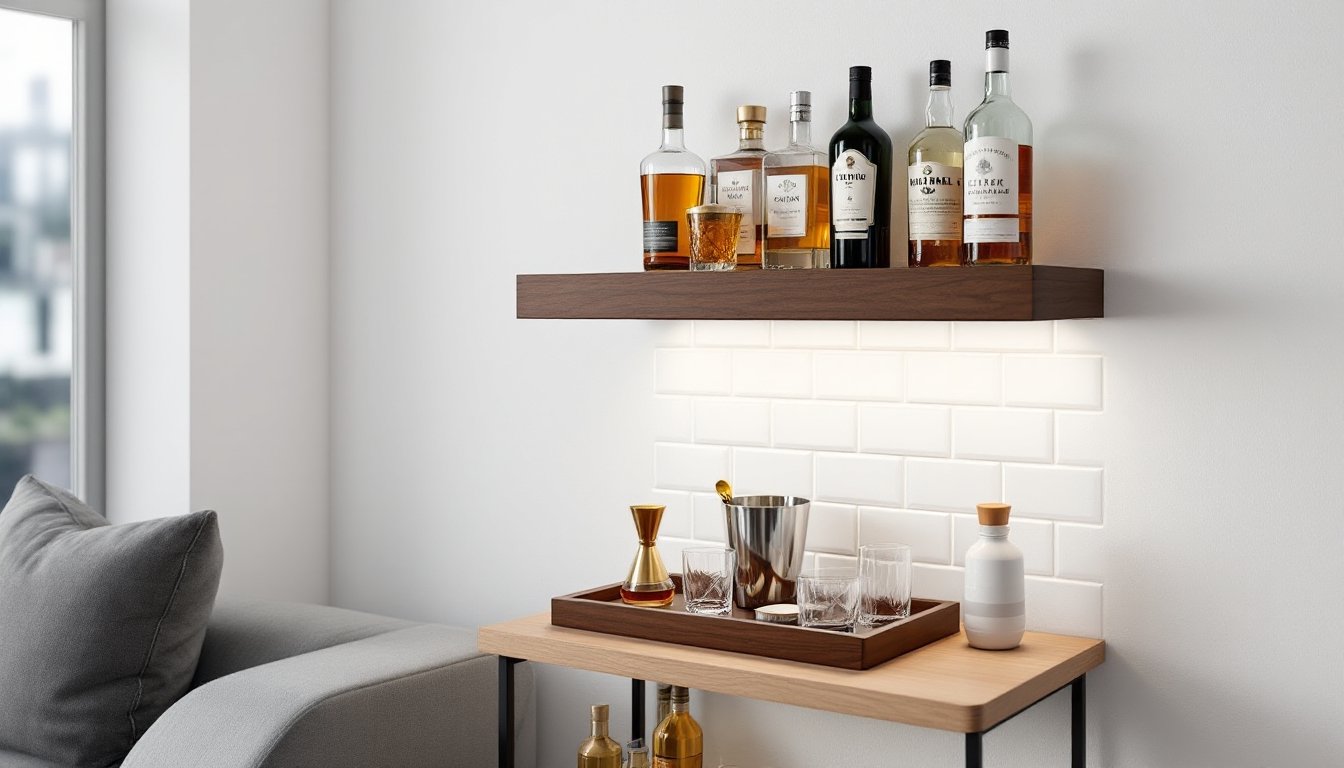
Install floating shelves above countertops or the sink. Use 1×8 or 1×10 boards (actual dimensions: 3/4″ × 7.25″ or 3/4″ × 9.25″) mounted to studs with heavy-duty brackets rated for at least 50 pounds per linear foot. Open shelving keeps frequently used items visible and eliminates the dead space behind cabinet doors. Store everyday dishes, glassware, or spice jars here.
Pull-out pantry cabinets, sometimes called “filler pantries”, fit into narrow gaps between appliances or cabinets. A 6-inch-wide pull-out rack can hold 30+ cans or bottles. These units typically mount on full-extension drawer slides rated for 75 to 100 pounds.
Inside cabinets, install stackable shelf inserts to create two-tier storage. This works especially well for plates, bowls, and mugs. Use lazy Susans in corner cabinets to access items without digging. For drawers, adjustable dividers keep utensils, cutlery, and small tools organized, no more junk drawer chaos.
Don’t overlook the cabinet door backs. Mount adhesive or screw-on door racks for lids, cutting boards, or measuring cups. Over-the-door organizers also work on pantry doors for foil, plastic wrap, and cleaning supplies.
Vertical Storage and Wall-Mounted Organization
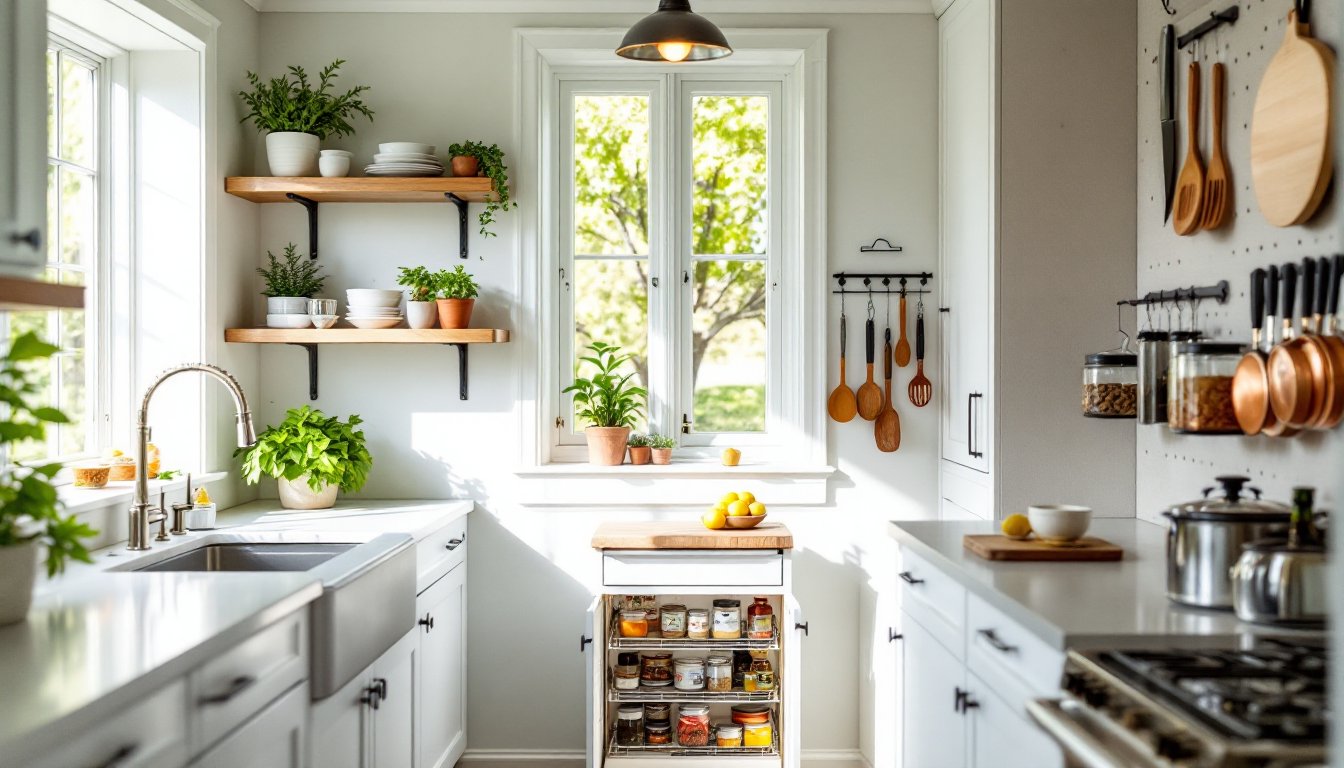
Pegboards and magnetic knife strips free up drawer and counter space. A 2×4-foot pegboard panel costs under $20 and holds dozens of utensils, pots, or tools on adjustable hooks. Mount it directly to studs or use a French cleat system for easy removal.
Magnetic strips work for knives, metal spice tins, or even scissors. Install them on backsplash areas or the side of a cabinet. Look for neodymium magnet strips, they hold heavier items securely.
Pot racks (ceiling-mounted or wall-mounted) are ideal for cast iron, stainless cookware, or frequently used pots. A ceiling-mounted rack requires securing to ceiling joists with lag bolts. If joists don’t align, use a ceiling plate that spans multiple joists for proper load distribution. Wall-mounted racks attach to studs and typically extend 12 to 18 inches from the wall.
Rail systems offer modular flexibility. Install a horizontal rail (often stainless steel or aluminum) and hang S-hooks, baskets, or shelves as needed. These systems adapt to changing storage needs without new holes in the wall, great for renters.
Safety note: Always wear safety goggles when drilling into tile or masonry backsplashes. Use a masonry bit and toggle bolts rated for the wall type (drywall, plaster, or concrete). When working with overhead installations, have a second person assist to prevent injuries from dropped tools or hardware.
Layout and Design Strategies for Compact Kitchens
Layout dictates workflow efficiency. In small kitchens, the work triangle, the distance between sink, stove, and refrigerator, should total 12 to 22 feet for optimal movement. Any tighter and the space feels cramped: any wider and meal prep becomes a marathon.
Galley kitchens (two parallel counters) work well when the aisle measures 42 to 48 inches wide. Narrower aisles cause traffic jams: wider ones waste steps. Position the sink and stove on one side, fridge on the other, to keep the cook path logical.
L-shaped layouts maximize corner space and open up one wall for a small dining table or cart. Consider a corner sink to reclaim linear counter space, it’s an unconventional move that often yields 12 to 18 extra inches of prep area. Corner sinks require custom cabinets, so budget accordingly.
Peninsulas (a short counter extending from one wall) add workspace and can double as a breakfast bar. A standard peninsula depth is 24 inches on the kitchen side. Add 12 to 15 inches of overhang for seating, supported by countertop brackets or a corbel rated for the material (granite, quartz, or butcher block).
Avoid bulky islands unless the kitchen exceeds 10×10 feet. In tight quarters, a mobile cart on locking casters offers flexibility. Move it out during cooking, tuck it away when hosting. Look for carts with butcher block tops, shelves, and towel bars.
Keep major appliances aligned along one or two walls. Avoid placing the fridge directly next to the stove, heat affects compressor efficiency and wastes energy. Maintain at least 3 inches of clearance for ventilation.
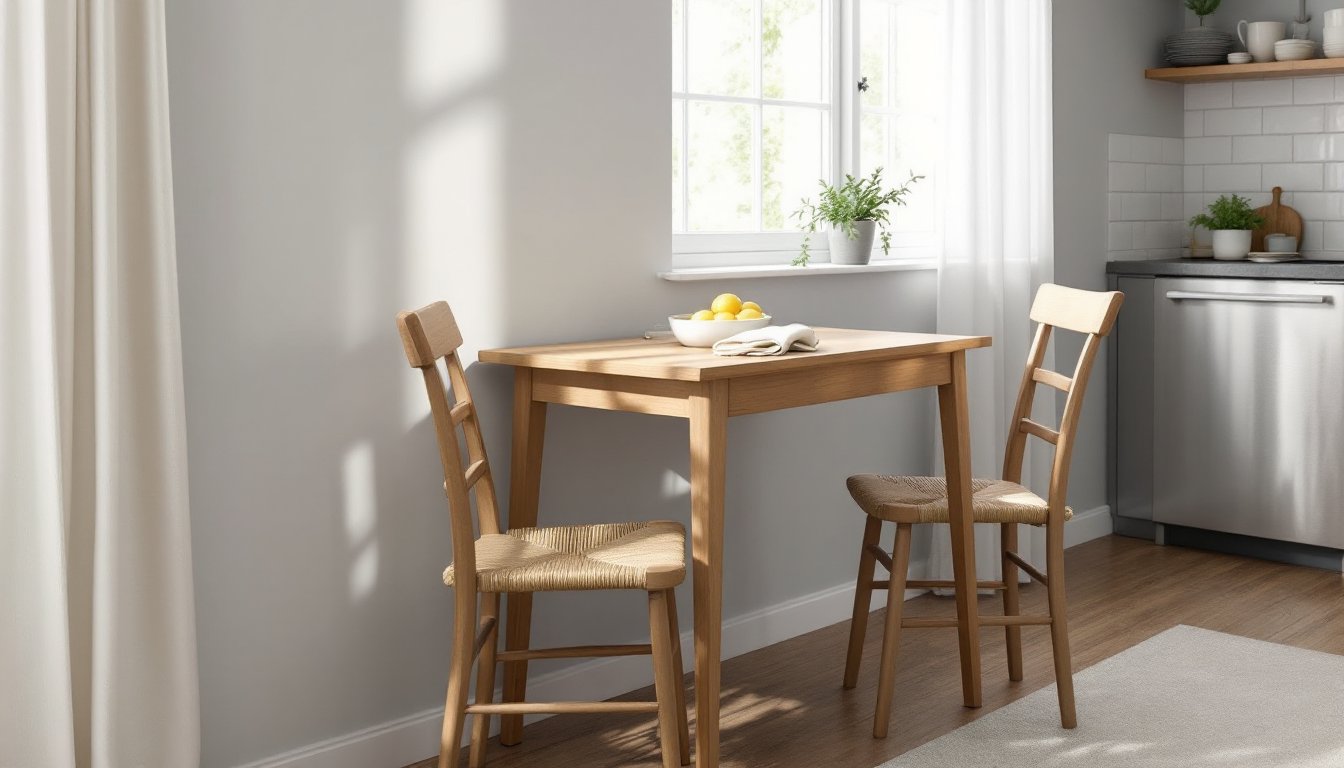
Incorporating space-saving dining solutions into adjacent areas can free up kitchen footprint for better circulation and workflow.
Color and Lighting Tricks to Make Small Kitchens Feel Larger
Light colors reflect more lumens than dark tones, creating the illusion of space. White, soft gray, or pale blue cabinets and walls bounce natural and artificial light, making a room feel airier. That doesn’t mean everything must match, accent one wall or lower cabinets in a deeper hue for contrast without overwhelming the space.
Glossy or semi-gloss paint finishes (like those with an 80+ sheen rating) reflect more light than flat finishes. For cabinets, consider high-gloss lacquer or laminate, easy to clean and visually expansive. On walls, semi-gloss or satin finishes work best in kitchens for moisture resistance.
Glass-front cabinet doors extend sightlines and make upper cabinets feel less bulky. If full glass feels too open, try frosted or reeded glass for a softer look. This trick is especially effective when the cabinet interior is painted the same color as the walls.
Lighting layers matter. Under-cabinet LED strips eliminate shadows on countertops and add task lighting where it’s needed most. Look for strips with a color temperature of 3000K to 4000K (warm to neutral white) for kitchen work. Install them toward the front edge of the cabinet, not the back, to reduce glare.
Replace a single overhead fixture with recessed lighting (4-inch or 6-inch cans) spaced 4 to 6 feet apart. This distributes light evenly and eliminates the cave-like feel of a single bulb. If recessed lights aren’t an option (e.g., in a rental), use track lighting on a ceiling-mounted rail.
Pendant lights work over a peninsula or small table but keep them 30 to 36 inches above the surface to avoid head bumps. Choose fixtures with clear or translucent shades, solid metal or wood pendants absorb light.
Maximize natural light by keeping window treatments minimal. Skip heavy curtains: use roller shades or café curtains that cover only the lower half of the window. Clean windows regularly, dirt and grime can reduce light transmission by 20% or more.
Designers from Apartment Therapy often recommend mirrored backsplashes or reflective tile to amplify light in windowless or poorly lit kitchens.
Multi-Functional Furniture and Space-Saving Appliances
Every piece in a small kitchen should earn its footprint. Drop-leaf tables or wall-mounted fold-down tables provide dining or prep space only when needed. A hinged table mounted to studs with heavy-duty folding brackets (rated for 150+ pounds) supports meal prep and folds flat when not in use. Pair it with folding chairs stored on wall hooks.
Rolling carts serve as mobile islands, bar carts, or coffee stations. Choose carts with at least two shelves and a solid top. Stainless steel or butcher block tops double as cutting surfaces. Lock the casters during use to prevent shifting.
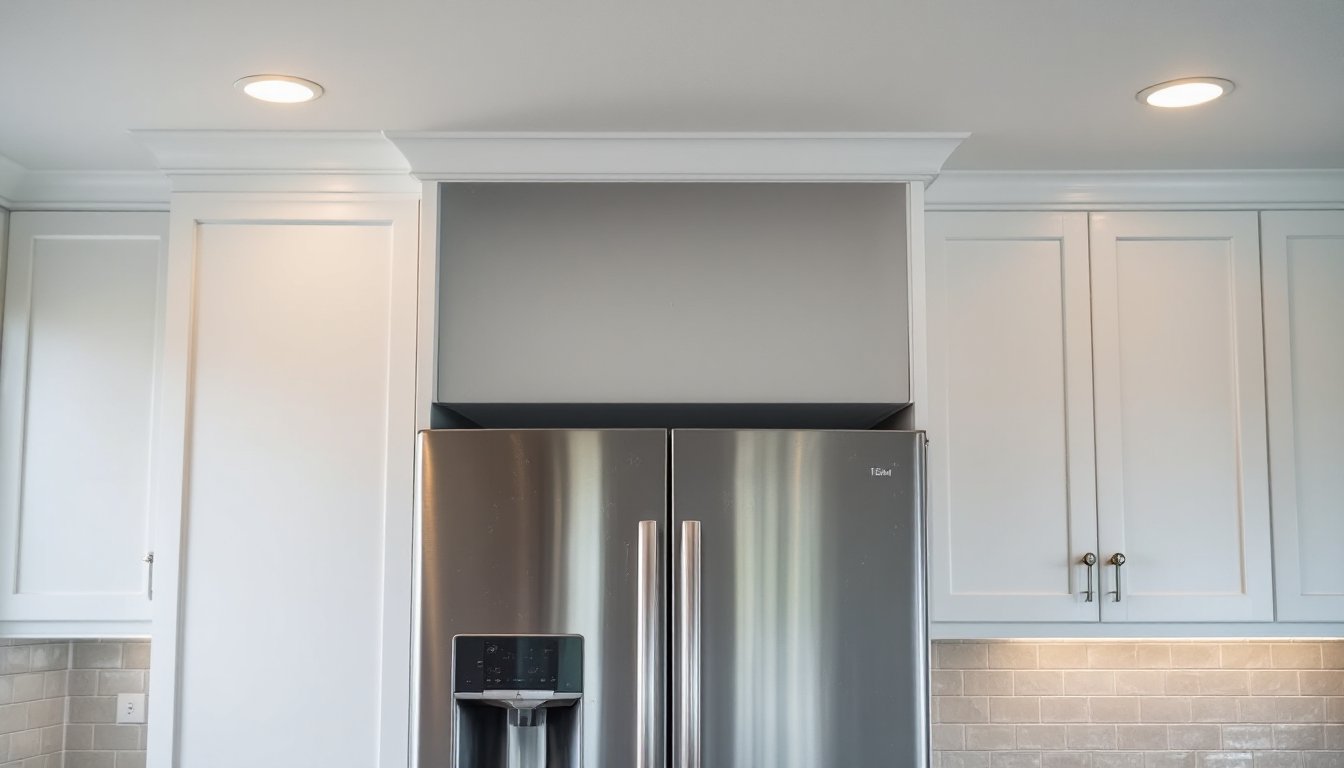
Compact appliances tailored for small spaces have exploded in variety. Apartment-size refrigerators (24 inches wide vs. the standard 30 to 36 inches) fit into tighter layouts without sacrificing essential features. Similarly, 18-inch dishwashers handle 6 to 8 place settings, plenty for one or two people.
Microwave placement often consumes valuable counter space. Wall-mounted or under-cabinet microwaves reclaim that real estate. Over-the-range models combine a microwave and range hood in one unit, though they require dedicated 120V electrical circuits and proper venting (either ducted to the exterior or recirculating with charcoal filters).
Slim, counter-depth refrigerators (24 to 28 inches deep instead of the standard 30+ inches) align with cabinetry and feel less intrusive. They cost 10% to 20% more but improve flow in narrow kitchens.
Consider combination appliances: a microwave-convection oven, a toaster oven with air fryer capability, or an induction cooktop with integrated ventilation. These reduce appliance clutter and often perform better than single-function budget models.
Induction cooktops (portable or built-in) are thinner than traditional electric coil or gas ranges and generate less ambient heat, helpful in small, poorly ventilated kitchens. A 1800-watt portable induction burner costs $60 to $100 and plugs into a standard outlet.
When selecting appliances, check actual dimensions, not just marketing claims. Measure doorways, counters, and clearances before purchasing. Many compact models still require 1 to 2 inches of ventilation clearance on sides or back.
Creative DIY Projects for Small Kitchen Upgrades
Small upgrades deliver outsized impact. Start with a DIY pegboard backsplash above a workspace. Cut a 1/4-inch pegboard panel to size, prime both sides with oil-based primer (to prevent warping from kitchen moisture), then paint with semi-gloss latex. Mount it to the wall with 1-inch spacers (use washers or short sections of PVC pipe) so hooks can slide through the holes. This costs $30 to $50 and installs in an afternoon.
Build a custom spice rack using 1×3 pine boards (actual size: 3/4″ × 2.5″). Cut shelves to fit inside a cabinet door or on an empty wall section. Use wood glue and 1-1/4″ finish nails. Add a 1/2-inch lip along the front edge to prevent jars from sliding off. Sand, prime, and paint to match the kitchen. Total cost: under $15.
Upgrade cabinet interiors with DIY pull-out shelves. Measure the cabinet opening (width, depth, height). Cut 3/4-inch plywood to size, allowing 1/2 inch of clearance on each side for the drawer slides. Attach bottom-mount drawer slides (full-extension, 75-pound capacity) to the cabinet sides and shelf. These cost $8 to $15 per pair and transform deep, dark cabinets into accessible storage.
Repaint cabinets for a dramatic refresh. Remove doors, label them, and clean all surfaces with TSP (trisodium phosphate) to remove grease. Sand lightly with 120-grit sandpaper to scuff the finish. Apply bonding primer (designed for slick surfaces like laminate or glossy paint). Finish with two coats of semi-gloss or satin cabinet paint. Use a foam roller for flat surfaces and an angled brush for edges. Allow 24 hours of dry time between coats. Total cost for a small kitchen: $100 to $200.
Install open shelving in place of one or two upper cabinets. Remove the old cabinets (turn off power first if any electrical is present). Locate studs with a stud finder and mark them. Cut shelf boards to length with a circular saw or miter saw. Drill pilot holes in the brackets and boards to prevent splitting. Secure brackets to studs with 3-inch wood screws or appropriate fasteners for your wall type. Level each shelf before fully tightening.
For a budget-friendly update, add modern hardware to cabinets and drawers. Replacing dated knobs and pulls takes 10 minutes per door and costs $2 to $5 per piece. Ensure new hardware matches the existing hole spacing (standard is 3 inches or 96mm center-to-center for pulls) or be prepared to drill new holes and fill old ones with wood filler.
Expert tips from The Kitchn highlight that even small aesthetic upgrades, like painting an accent wall or installing peel-and-stick tile, can make compact kitchens feel intentional rather than compromised.
Safety reminder: Wear a dust mask when sanding or cutting wood. Use nitrile gloves when working with TSP or paint. If removing upper cabinets, have a helper support the weight, old cabinets can weigh 40+ pounds and drop unexpectedly when the last screw is removed.
Conclusion
Small kitchens reward careful planning and smart material choices. Whether installing pull-out shelves, repainting cabinets, or swapping in compact appliances, every upgrade should solve a specific problem. Focus on projects that improve daily workflow, not just aesthetics. With the right mix of storage, layout adjustments, and lighting, a 10×10 kitchen can outperform a poorly planned 15×15 space.