Table of Contents
ToggleSmall spaces don’t mean sacrificing the extras that make a house feel like home. A modern mini bar tucks neatly into corners, awkward nooks, or even a slice of wall space, no basement or wet bar required. Whether it’s cocktail hour, wine storage, or simply a designated spot for glassware, a compact bar setup adds functionality and a touch of sophistication without eating up precious square footage. This guide covers design principles, style options, smart locations, and must-have features to help homeowners build a mini bar that works hard in tight quarters.
Key Takeaways
- A modern mini bar maximizes limited space by building upward with wall-mounted shelving, floating shelves, and pegboard solutions that keep bottles and glassware off crowded countertops.
- Multi-functional furniture like bar carts, drop-leaf tables, and dual-purpose cabinets lets your mini bar earn its space by serving multiple purposes beyond drink preparation.
- Under-stair nooks, converted closets, kitchen dead zones, and corner spaces offer creative locations for mini bar installations that don’t require dedicated floor space.
- Essential features such as compact refrigeration, stemware racks, task lighting, and backsplash protection transform a small bar into a functional and safe entertaining zone.
- Industrial modern, Scandinavian minimalist, mid-century modern, and contemporary glam styles adapt to any home aesthetic while maintaining the clean lines and smart storage that define modern mini bar design.
- Most DIY mini bar projects like shelving and carts skip permit requirements, but plumbing and hardwired electrical work need professional installation and local approval.
Why a Mini Bar Is the Perfect Addition to Small Spaces
A mini bar solves two common problems in compact homes: lack of dedicated storage and underused vertical or corner space. Unlike full-size home bars that demand entire rooms, a mini bar can occupy as little as 12 to 18 inches of depth along a wall or fit inside a repurposed cabinet.
Small bars also create zones within open-concept layouts. In studio apartments or combined living-dining areas, a bar cart or wall-mounted bar shelf visually separates the kitchen from the lounge without installing permanent dividers. This zoning trick makes rooms feel larger and more organized.
From a practical standpoint, mini bars centralize drink prep. Bottles, mixers, tools, and glassware live in one spot instead of scattered across kitchen cabinets. That efficiency matters when counter space is already at a premium. Plus, a well-designed bar becomes a conversation piece, guests notice custom floating shelves or a sleek cart more than they’d notice another generic side table.
Essential Design Principles for Space-Saving Mini Bars
Smart mini bar design hinges on maximizing every inch without clutter. Two core strategies, vertical storage and multi-functional furniture, turn cramped quarters into efficient, stylish setups.
Vertical Storage and Wall-Mounted Solutions
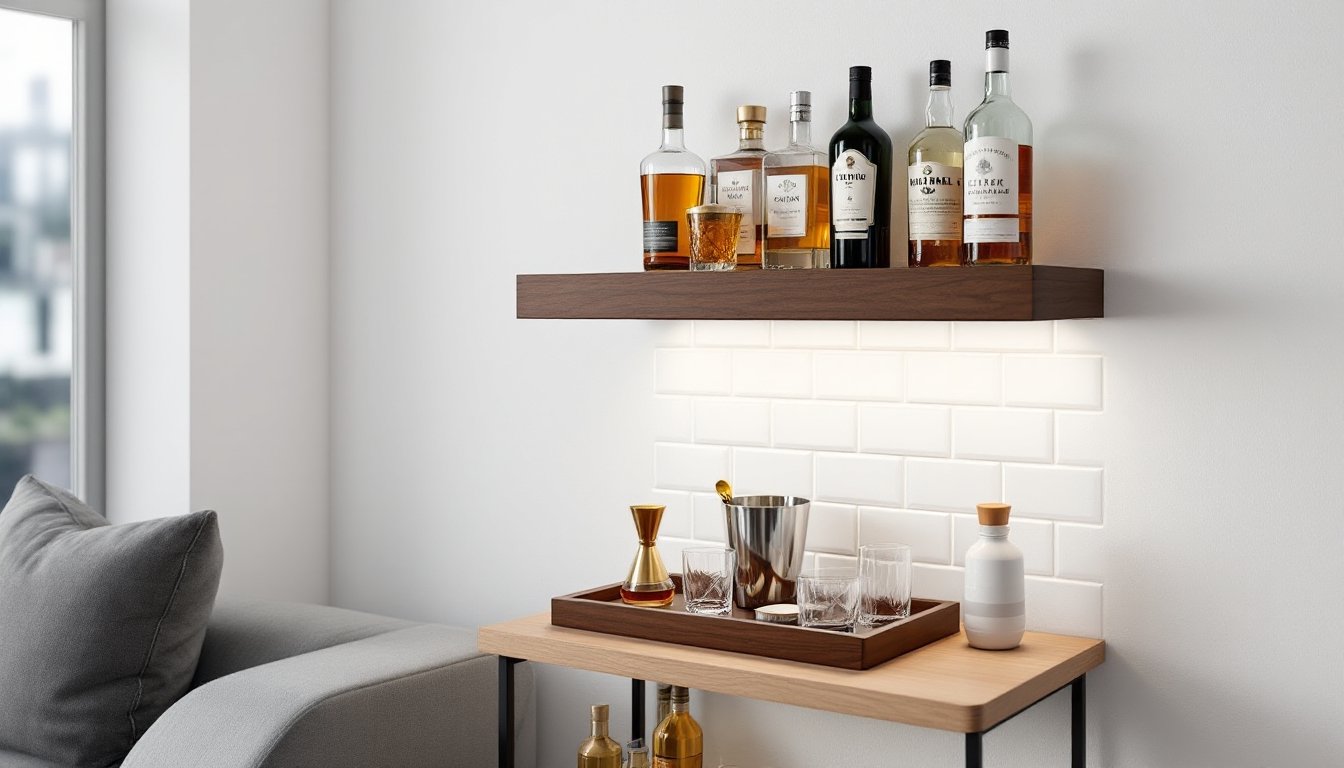
When floor space is scarce, build upward. Wall-mounted shelving (floating shelves or ladder-style units) keeps bottles, glasses, and accessories off counters. Install shelves at least 16 inches deep to accommodate standard wine or liquor bottles standing upright, and space them 10 to 12 inches apart vertically to fit taller bottles or stemware.
Use the wall between studs for recessed shelving in drywall-finished rooms. A shallow alcove (about 3.5 inches deep between standard 2×4 studs) won’t hold bottles but works perfectly for hanging stemware racks or storing cocktail tools. Always locate studs with a finder and anchor heavy shelves into solid framing, drywall anchors alone won’t support a loaded liquor shelf safely.
Pegboard or slat-wall panels mounted to studs offer adjustable storage. Add hooks for mugs, small baskets for napkins, and mini shelves for bitters or garnishes. This approach, popular among modern design enthusiasts, adapts as your collection grows.
Multi-Functional Furniture for Dual-Purpose Living
In tight spaces, furniture should earn its keep twice over. A bar cabinet that doubles as a buffet server during dinners or a console table behind a sofa maximizes utility. Look for pieces with interior shelving (adjustable is best) and a top surface at least 30 inches high, the standard height for comfortable drink prep while standing.
Bar carts are the ultimate multi-taskers. Roll them out for entertaining, then tuck them into a closet or bedroom corner when not in use. Choose metal-frame carts for lighter weight and easier mobility: wooden carts offer more visual warmth but add heft. Two-tier carts (common size: 30 inches high by 18 inches wide) hold bottles on the lower shelf and glassware or an ice bucket on top.
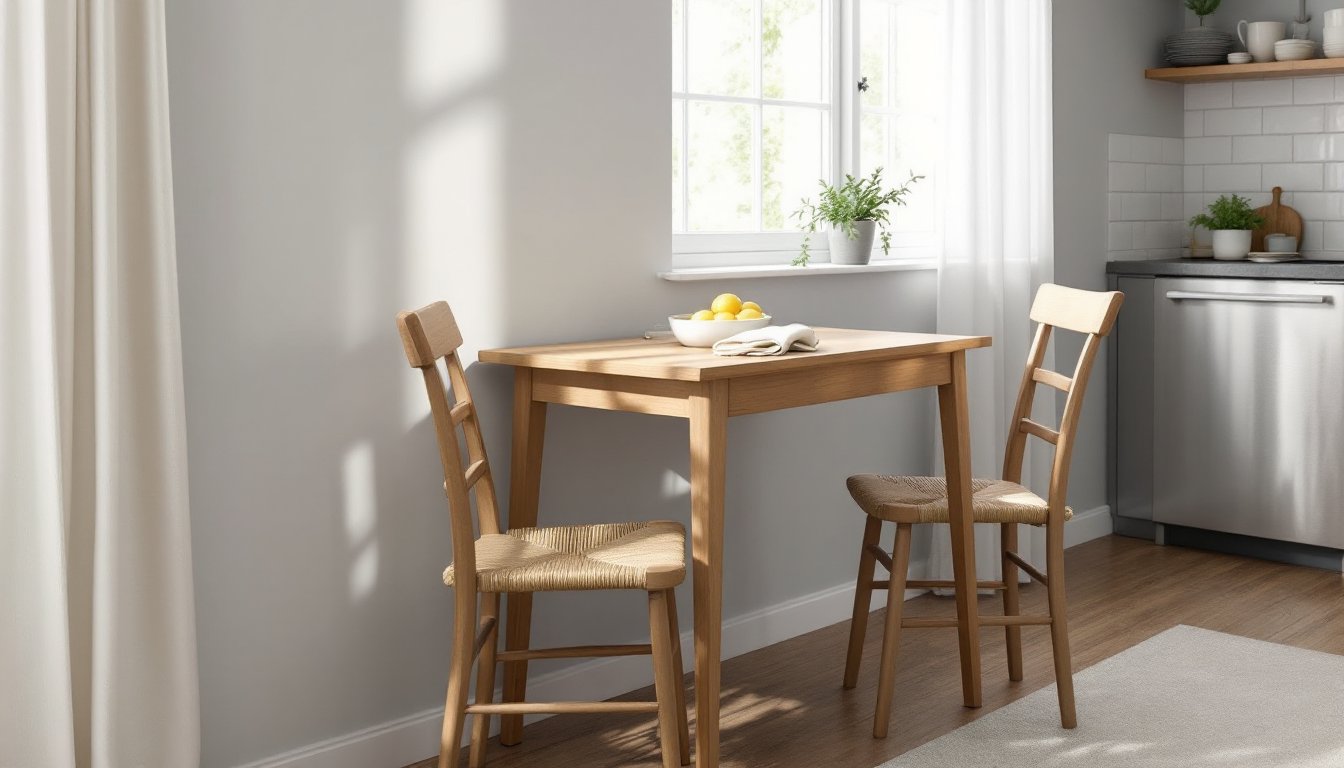
Folding or drop-leaf bar tables work in micro-apartments. Mount a wall-mounted drop-leaf that folds flat when closed (occupying just 2 to 3 inches of wall depth) and flips down for mixing drinks or serving. Pair it with wall-mounted glass holders above or a small cart below. Homeowners seeking more integrated furniture solutions often combine drop-leaf bars with other fold-away elements.
Top Modern Mini Bar Styles for Compact Homes
Style choice shapes both aesthetics and function. Modern mini bars lean into clean lines, mixed materials, and understated hardware.
Industrial modern pairs metal shelving (black steel or brushed nickel) with reclaimed wood or concrete-look laminate surfaces. Exposed pipe shelving brackets and Edison-bulb lighting reinforce the look. This style works especially well in lofts or urban apartments where raw finishes complement existing decor.
Scandinavian minimalist bars use light woods (birch, ash, or white oak), white or pale gray cabinetry, and simple brass or matte black hardware. Open shelving, floating cabinets, and streamlined bar carts define the aesthetic. Keep bottles and glassware minimal, six to eight pieces max, to maintain the uncluttered vibe.
Mid-century modern brings warm walnut or teak finishes, tapered furniture legs, and geometric tile backsplashes. A vintage bar cart or a credenza-style cabinet with sliding doors nails this look. Accent with brass bar tools and jewel-toned glassware for a retro pop.
Contemporary glam mixes glass shelving, mirrored backsplashes, and metallic finishes (gold, rose gold, or chrome). This style suits homeowners who want a mini bar to double as a decorative focal point. Keep structural elements simple, let materials do the talking. A mirrored tray on a simple console table can achieve the look without custom millwork.
Creative Locations for Installing Your Mini Bar
Unconventional spots often hide the best mini bar real estate.
Under-stair nooks are natural candidates. Most staircases have at least 3 to 4 feet of usable height at the shallow end, enough for a small bar cabinet or floating shelves. Measure headroom carefully: anything under 36 inches limits bottle height. Add LED strip lighting under shelves to brighten the alcove. If the space backs onto a conditioned room, no insulation or vapor barrier is needed: if it opens to a garage or unheated area, insulate the back wall to avoid temperature swings that affect wine or spirits.
Closets convert easily. A standard bedroom closet (24 inches deep) provides ample room for shelving and a countertop. Remove the existing rod and shelf, then install adjustable shelving on standards and brackets. Use the top shelf (around 84 inches high in an 8-foot ceiling room) for rarely used items or seasonal decor. Add a 36-inch-high countertop at a comfortable working height. Bifold or sliding doors keep the bar hidden when not in use.
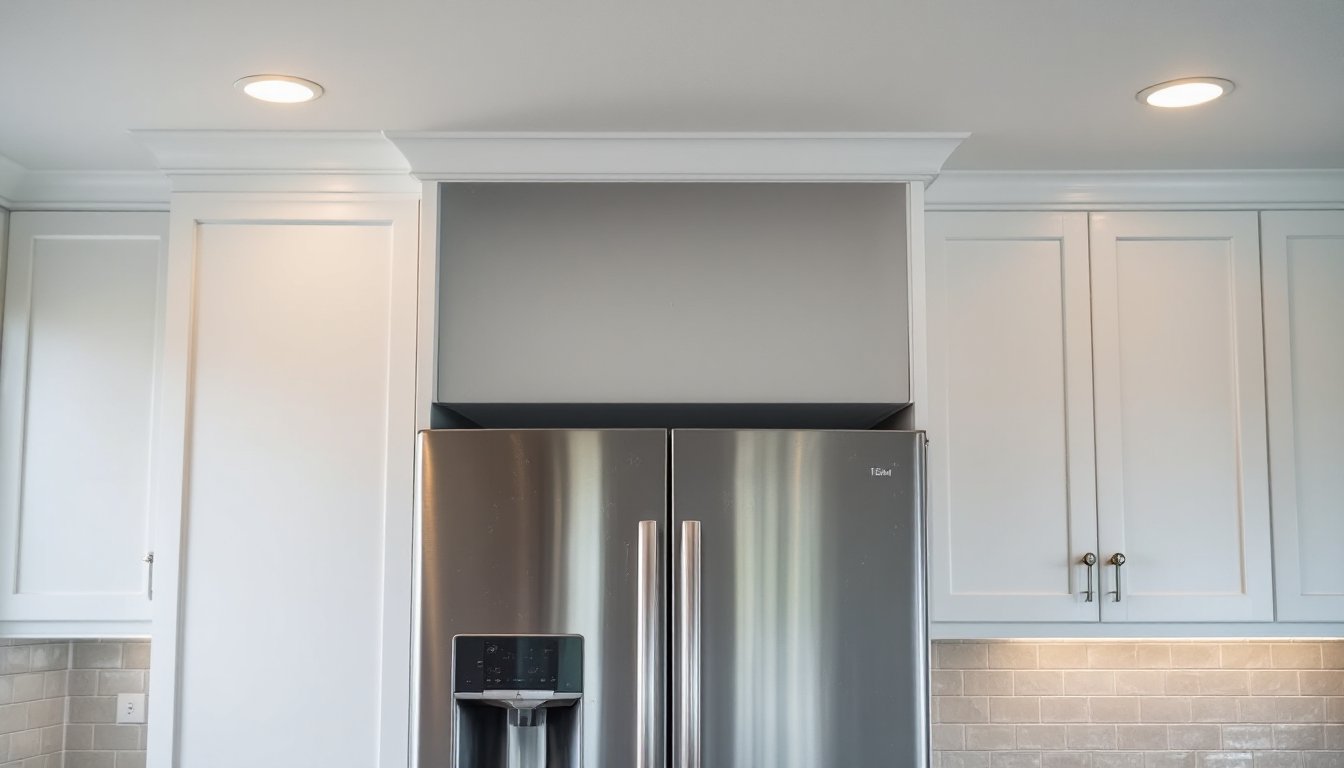
Kitchen dead zones, the awkward 6- to 12-inch gaps beside the fridge or at the end of a counter run, can fit a pull-out wine rack or narrow rolling cart. Some homeowners also rethink compact kitchen storage by combining a mini bar with pantry functions.
Living room alcoves or window bays work if the room lacks a separate dining area. A shallow console table (12 to 15 inches deep) along a wall or in a bay window creates a bar without blocking walkways. Mount a mirror or artwork above to define the zone visually.
Corner spaces are often wasted. A corner bar cabinet or triangular floating shelf fits snugly and takes advantage of two walls for support. Corner installations require careful measurement, most ready-made corner shelves are 24 to 30 inches per side, so verify wall dimensions before buying.
Must-Have Features and Accessories for Small Mini Bars
The right accessories pack big functionality into small footprints.
Compact refrigeration keeps mixers, garnishes, and white wine chilled. A countertop mini fridge (1.6 to 2.5 cubic feet) slides under a bar counter or sits on a lower cart shelf. Look for models with adjustable shelves and reversible doors for flexible placement. If noise matters (especially in studio apartments), choose a model with a rating under 40 decibels. Thermoelectric coolers run quieter than compressor models but have less cooling power, fine for wine storage, less ideal for ice-cold beer.
Stemware racks mounted under shelves or cabinets free up shelf space. Standard racks hold glasses by the base, spacing them 3 to 4 inches apart. Measure your tallest wine glass before installing to ensure adequate clearance (typically 10 to 12 inches from rack to shelf above).
Organizational inserts and dividers inside cabinets or drawers corral small items, jiggers, strainers, bottle openers, cocktail picks. Drawer dividers (wood or acrylic) prevent tools from sliding around. Lazy Susans on shelves make bottles in the back accessible without removing front rows.
Task lighting is non-negotiable for safe drink prep. Battery-powered or plug-in LED strip lights (2700K to 3000K color temperature for warm light) install under shelves or inside cabinets with adhesive backing. For hardwired options, wire low-voltage LED tape to a wall switch: this may require hiring an electrician if you’re not comfortable with electrical work. Always follow National Electrical Code (NEC) guidelines for low-voltage wiring in wet or damp locations if the bar is near a sink.
Backsplash protection matters if the bar sits against drywall. Even minor spills or condensation can stain or damage paint. Install a simple tile, metal sheet, or glass panel backsplash. 4×4-inch or subway tiles are easy DIY installs with mastic adhesive and pre-mixed grout. For zero-commitment setups (renters take note), use peel-and-stick backsplash tiles or a cut-to-size acrylic sheet.
Bar tools and glassware should fit the space. A starter set includes a jigger, cocktail shaker, strainer, bar spoon, muddler, and corkscrew, all of which fit in a single drawer or small caddy. Glassware depends on drinking habits: a minimalist setup might include four each of rocks glasses, white wine glasses, and red wine glasses. Store small-space bar essentials in ways that showcase them as decor, not clutter.
Safety gear: If installing floating shelves, wear safety glasses when drilling into walls to avoid dust or debris in the eyes. Use a dust mask when cutting tile or MDF board for backsplashes or shelving to limit silica or particulate inhalation.
Materials and Finishes
Choose moisture-resistant materials. Laminate or quartz surfaces on counters handle spills better than unsealed wood. If using wood, apply a polyurethane or conversion varnish finish (three coats minimum) to seal the surface. Shelving should be at least 3/4-inch-thick plywood or solid wood to support bottle weight without sagging: MDF works for light-duty applications but swells if it gets wet.
For wall-mounted bars in rental units, use heavy-duty drywall anchors (toggle bolts or screw anchors rated for at least 50 pounds per anchor) if studs aren’t available. Patch and paint holes when moving out, standard spackle and primer will handle most repairs.
Permits and Professional Help
Most mini bar installations are cosmetic and don’t require permits. But, if you’re adding plumbing for a wet bar (sink and drain), expect to pull a permit and hire a licensed plumber. Plumbing work must meet International Residential Code (IRC) and local amendments, including proper venting and trap installation. Similarly, hardwired electrical work (adding outlets or light fixtures) often requires a permit and a licensed electrician, depending on jurisdiction.
Floating shelves and bar carts? Those are DIY-friendly weekend projects. Built-in cabinetry or structural modifications (removing a section of wall, even non-load-bearing) may need permits. When in doubt, check with your local building department before cutting or drilling.